| Workin' on the 308 | <– Date –> <– Thread –> |
|
From: robert_h_bowser [at] juno.com (robert_h_bowser |
|
| Date: Fri, 1 Feb 2008 22:21:32 -0800 (PST) | |
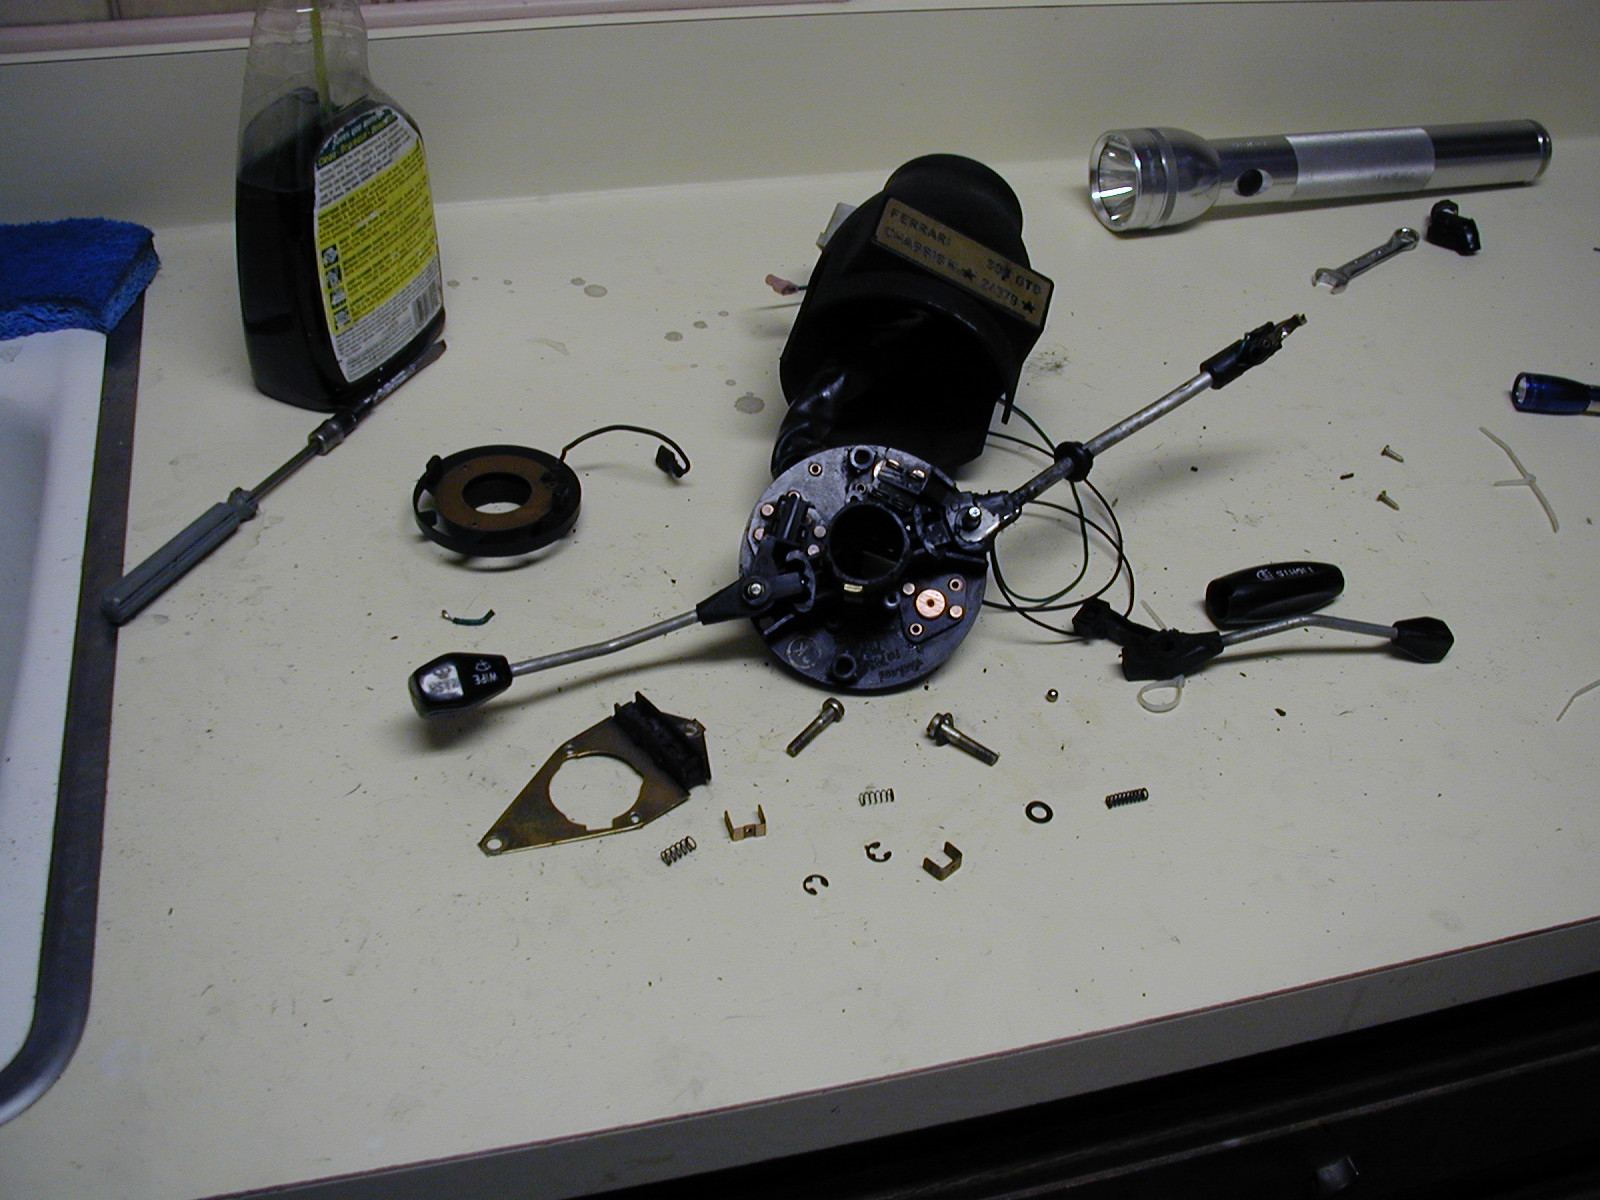
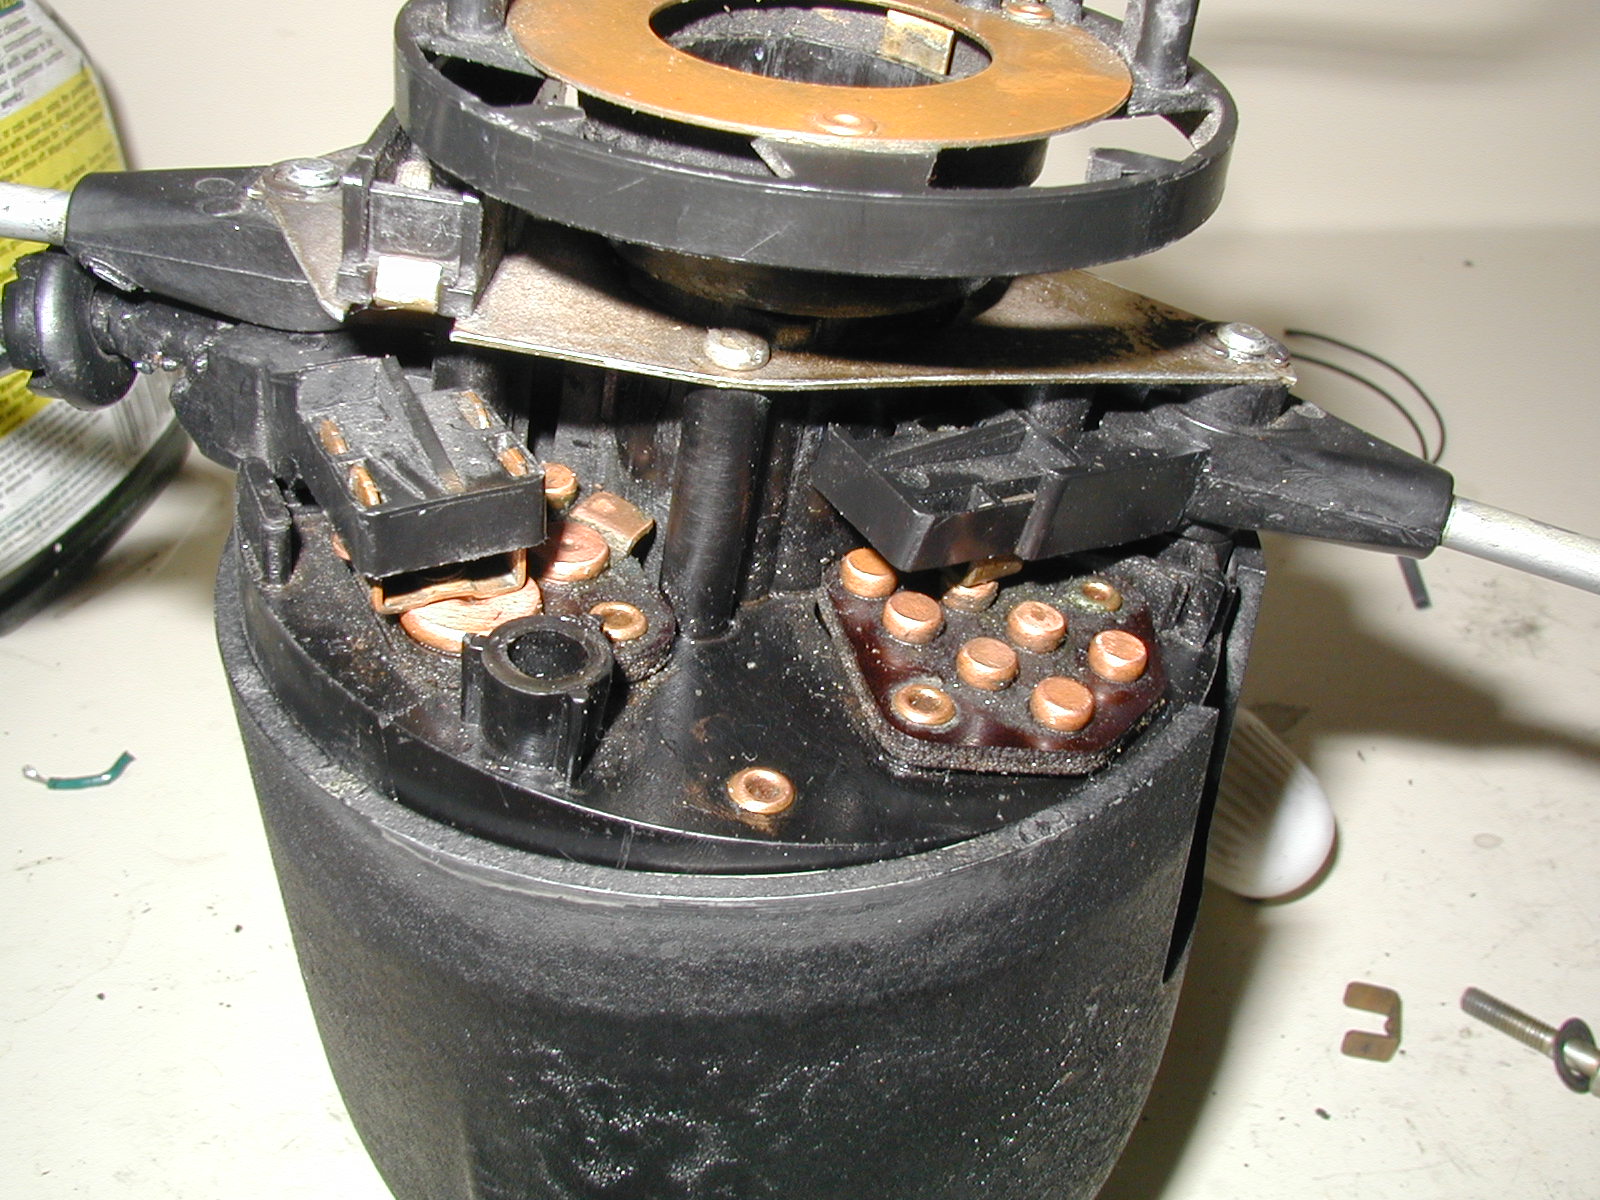
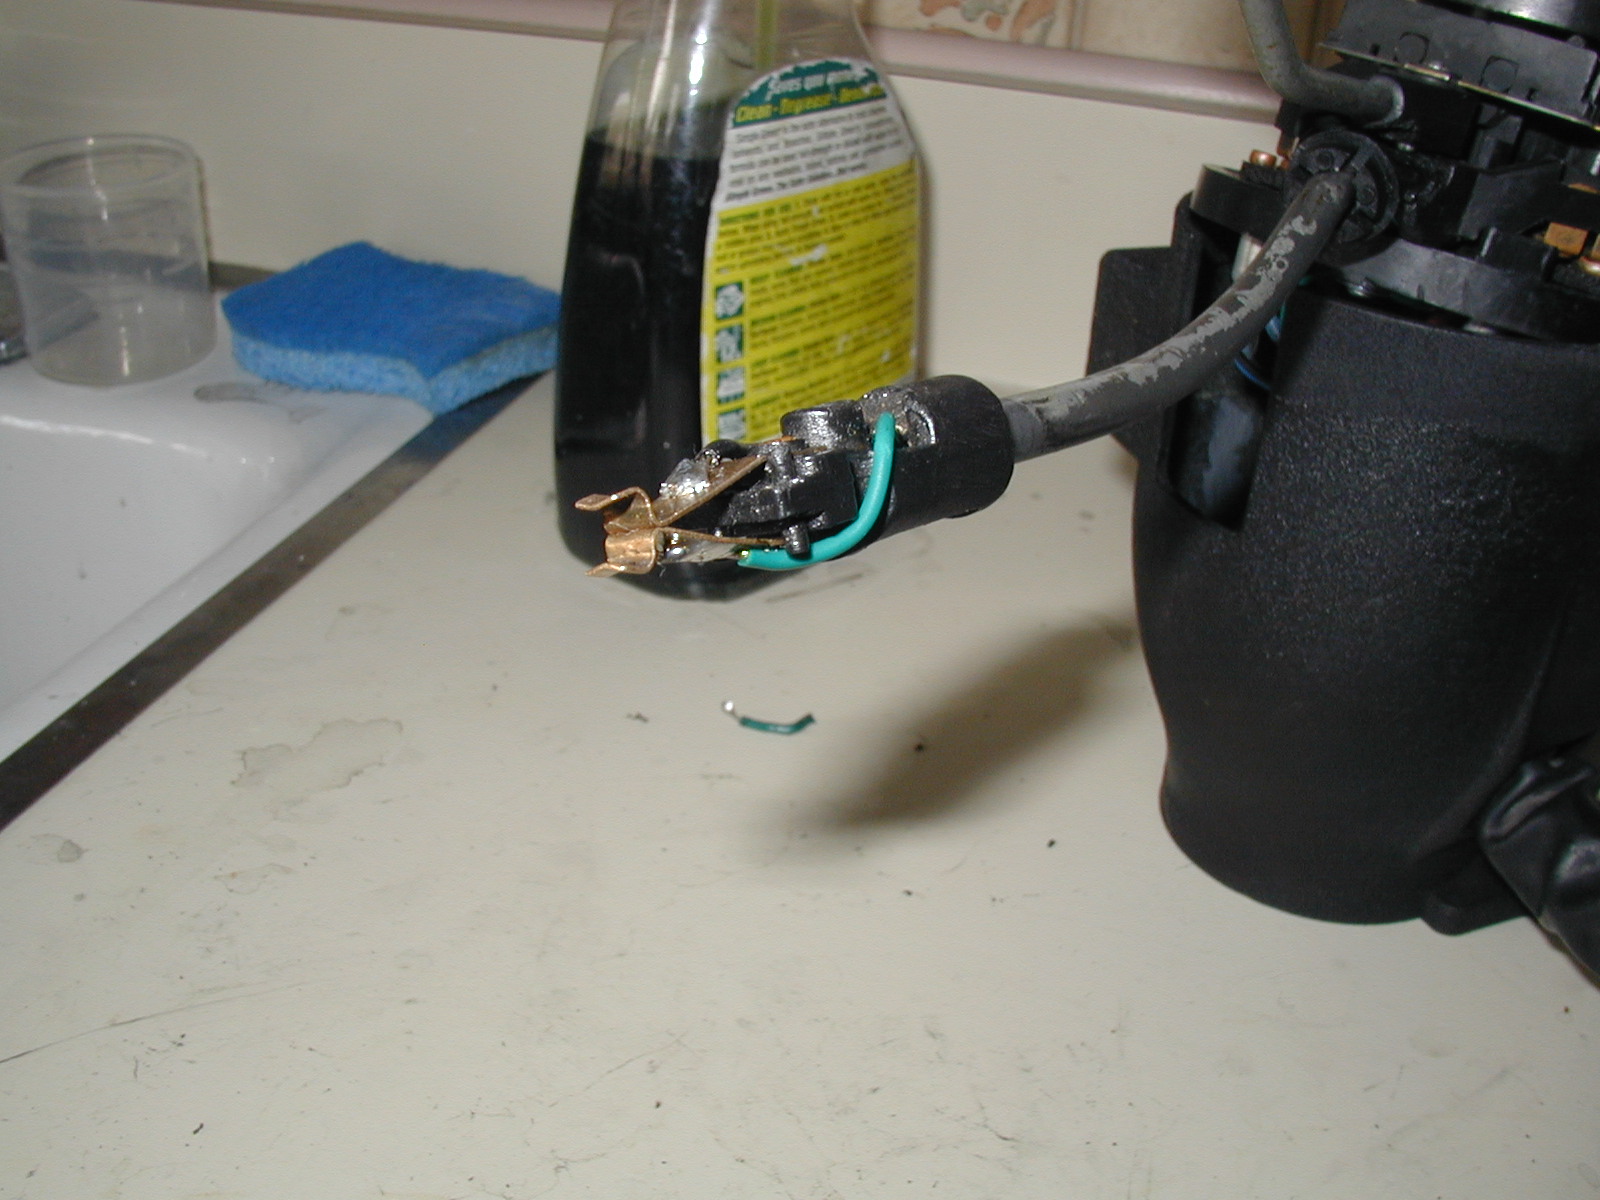
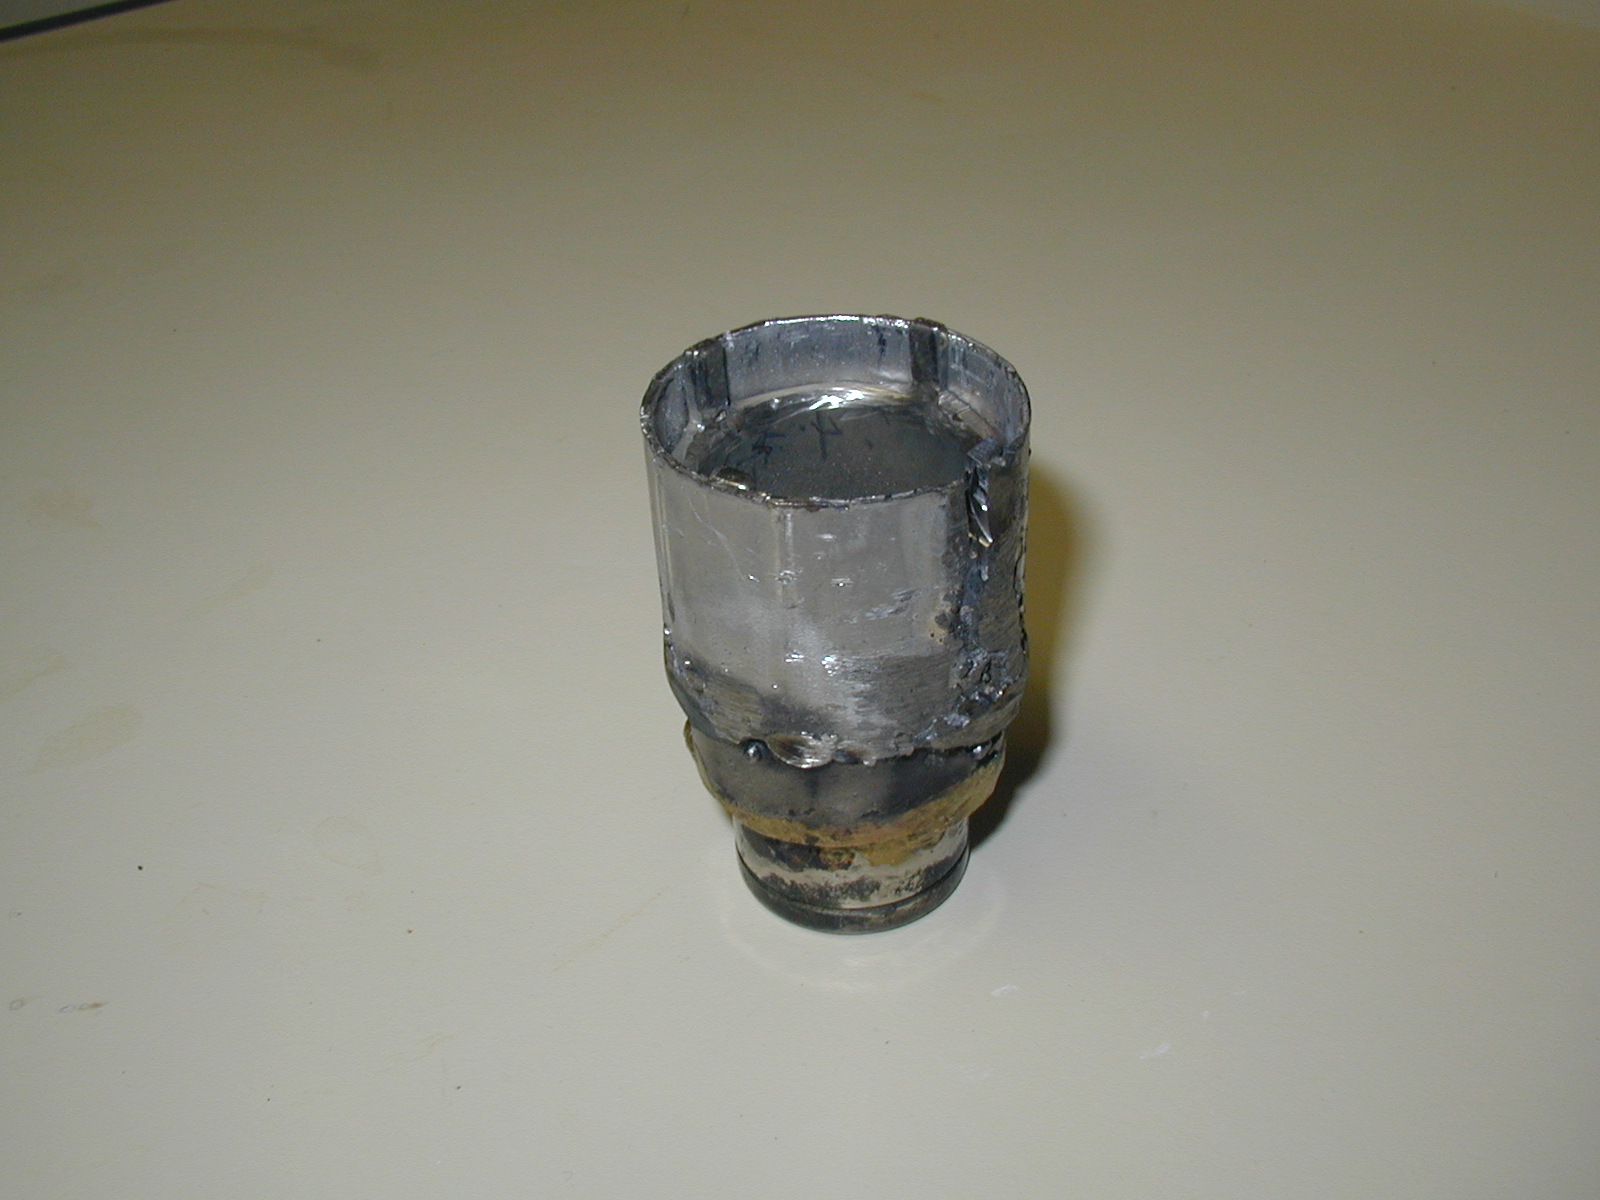
After finishing the front suspension work (new brake pads, new brake lines, new
sway bar bushings, repacking the [recently replaced] A-arm bushings) and
completing the oil/filter change on the 308, the weather here in SoCal still
sucked, so I decided to tackle more projects on my beloved 308:  Re-aligning
the steering wheel with respect to the front rack, and rebuilding the steering
column switches.

After doing my front end alignment a while ago, I noticed that the steering rod
ends were not equally spaced (i.e., screwed into the tie rod ends a different
number of turns).  On the drivers side, it was held by just a few threads
(3-4).  To set it up so the wheels were aligned and the tie rod ends were held
by the same number of threads on each side, the steering wheel would be cocked
60 deg to the right.  So the steering linkage needed to be disassembled and
then reassembled with the correct alignment.  I know, anal thing to do.  But it
bugged me.

Second problem was the light switches on the steering column.  They had gotten
flaky over the years.  The switch on the end of the light lever failed a while
ago and I bypassed it.  The high/low switch was intermittent.  Time to repair
and clean it all up.

Doing all this, of course, requires removing the column nut, which no one (at
least on the list) seems to have.  I stopped by the mechanic I use, and he
didn't have one either.  He did have a broken one that he had made up a while
ago, consisting of a 22mm socket inserted in a piece of pipe.  He had relieved
the end of the pipe leaving four tabs to fit into the grooves on the nut, but
they had been broken off trying to extract a nut.  He said I could have it.
Having more time than sense, I took the broken tool home and attacked it with
my Dremel tool and wire welder.  Amazing what you can do with too much time on
your hands and some basic tools.  I re-relieved the end to create four tabs and
welded on a sleeve around the pipe to reinforce the tabs.  Looks cobby, but it
does work.  Nut came right off.

Once the nut was off, I pulled the steering hub.  Easy then to remove the
plastic housing containing all the switches.  After several false starts, I
finally figured out how to disassemble the entire thing.  Lots of little
springs and ball bearings.  Lots of time on the floor with a flashlight,
looking for little parts.  Lots of stuff gumming up the contacts.  Stalk end
switch had a solder connection disconnect.  Ended up cleaning it all up,
replacing the wires in the light stalk, re-soldering as necessary and putting
it all back together.  Only a couple of parts left over (washer portion of the
wiper switch was a total loss).

Then I attacked the steering linkage.  What a PITA.  All the connections were
frozen together and very difficult to get to, even with the drivers seat and
steering wheel removed.  I'm not a big guy (5'9", 185lbs), but that car was
built to be serviced by midgets.  Finally got it all apart, equalized the
threads on the tie rod ends, pointed the wheels straight ahead and reconnected
everything with the steering wheel in the lock position.

Took it out this morning, and, strangely enough, it all works.  Just like it
should.

For those interested, I've attached some pictures.  And if anyone needs to
remove their steering wheel nut, I've got the tool.

Bob
'78 308GTS
'01 Corvette Z06
_____________________________________________________________
Click for the best auto accessories at great prices.
http://thirdpartyoffers.juno.com/TGL2111/fc/Ioyw6iif3yVT5pzz8VoYJci5g6K3eIys3cDeUfm9ruBFpehtJs5zz6/
Attachment:
Switches (1).JPG
Description: Switches (1).JPG
Attachment:
Switches (2).JPG
Description: Switches (2).JPG
Attachment:
Switches (3).JPG
Description: Switches (3).JPG
Attachment:
Switches (4).JPG
Description: Switches (4).JPG
Attachment:
Socket.jpg
Description: Socket.jpg
-
Workin' on the 308 robert_h_bowser [at] juno.com, February 1 2008
-
Re: Workin' on the 308 Rick Lindsay, February 2 2008
- Re: Workin' on the 308 LarryT, February 2 2008
- Re: Workin' on the 308 LarryT, February 2 2008
- Re: Workin' on the 308 Doug and Terri Anderson, February 3 2008
-
Re: Workin' on the 308 Rick Lindsay, February 2 2008
Results generated by Tiger Technologies Web hosting using MHonArc.